Setup & Assembly Guides
Detailed instructions for proper installation and optimal performance of your equipment
Shelter Setup
Hammock Rigging
Care & Maintenance
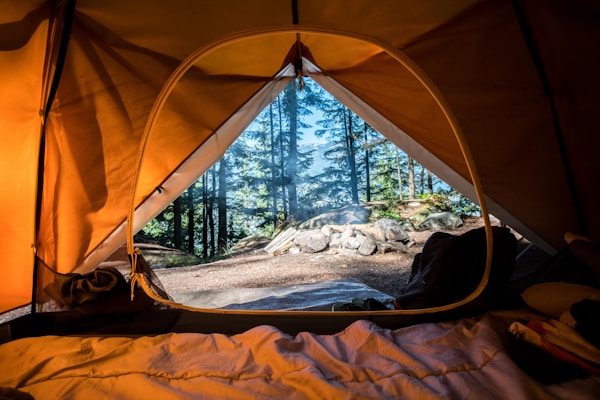
Site Selection & Preparation
Choose level ground free of rocks, roots, and standing water. Clear the area of debris that could damage your shelter floor. Look for natural windbreaks like trees or rock formations, but maintain safe distance from dead trees or widow-makers.
Consider drainage patterns—avoid low spots where water might collect during rain. If camping in alpine environments, select sites protected from prevailing winds while maintaining visibility of weather changes.
Use trekking poles to probe snow depth before committing to a site. Hard-packed snow is preferable to soft, unconsolidated layers.
Ideal campsite layout with natural protection
Footprint & Floor Setup
Lay your footprint or ground cloth with the coated side down. Ensure it's slightly smaller than your tent floor to prevent water pooling underneath during rain. Smooth out any wrinkles or folds that could create uncomfortable pressure points.
If your shelter doesn't include a footprint, position the tent body directly on cleared ground. Pay special attention to corner placement—proper tension here prevents sagging and maintains structural integrity.
Footprint should be smaller than tent floor
Pole Assembly & Insertion
Assemble poles carefully, allowing shock cord to guide sections together rather than forcing them. Connect all sections before threading through sleeves or clips. Work from the center outward to prevent binding.
For clip-based designs, start at the center and work toward corners. This maintains even tension. With sleeve designs, feed poles gently—never force. Insert pole ends into grommets securely, ensuring full engagement.
Cold weather can make shock cord brittle. Handle poles gently in freezing conditions and warm them in your sleeping bag if necessary.
Proper pole insertion and grommet engagement
Staking & Guy Line Tension
Stake corners first at 45-degree angles away from the tent, creating outward tension. Drive stakes at a 45-degree angle toward the tent for maximum holding power. In soft ground, cross-stake or use larger diameter stakes.
Attach and tension guy lines working from windward side. Maintain even tension—too tight creates stress points, too loose allows excessive movement. Adjust line tensioners until fabric shows slight tautness without wrinkles.
Proper staking angles for maximum stability
Tree Selection & Spacing
Select healthy, living trees 12-15 feet apart with minimum 6-inch diameter at chest height. Avoid dead standing trees, damaged bark, or shallow-rooted species. The ideal angle for suspension is approximately 30 degrees from horizontal when occupied.
Inspect trees for widow-makers (dead branches overhead), insect damage, or signs of decay. In popular camping areas, look for established hammock sites to minimize additional tree wear.
Optimal tree spacing and suspension angle
Post-Trip Cleaning
Set up your shelter completely and allow it to air dry before storage. Brush off dirt and debris with a soft brush. For stubborn stains, use lukewarm water and mild, non-detergent soap. Never machine wash or use harsh chemicals.
Pay special attention to zippers—clean debris from tracks using a soft brush. Lubricate with zipper lubricant or unscented candle wax. Inspect seams for damage and re-seal as needed using appropriate seam sealer.
Proper cleaning prevents premature degradation